Vette Engine Rebuild
I bought my Corvette as a used car in the mid 1980's. The car now has a little more than 100,000 miles on it. Although the engine still runs fairly well, it's a little tired and burns some oil (it leaks a good bit of oil too).
So I decided it was time to pull the engine and rebuild it. My overall goal is to have a clean and nicely painted engine compartment that houses a refreshed and updated engine. I'd like to use my Corvette for cruising and to that end, I want to burn unleaded gas and not go too far over the top in improvements. My current plan is to complete this project with an engine that has about a 9 to 1 compression ratio (up from the current 8.5 to 1) and developes around 300 to 325 horse power (as well as a good torque curve).
During the month of October, 2012, I prepped the engine compartment for the removal of the engine. This included removing such things as the wiring harness, alternator, power steering pump, air conditioning compressor, radiator and the like. By the end of the month, the engine was only held in place by the engine mounts, flex plate, and a couple of bolts attaching it to the transmission bell housing.
Each year, at the end of October, my brother Ed comes to Charlotte for the Good Guys car show held at the Charlotte Motor Speedway. Ed is the real car authority in my family and owns such cool items as an engine lift and an engine stand, which he unwittingly was talked into bringing with him. Fortunately for Ed (and good family relations), having the engine prepped, allowed us to pull it out of the car in about two hours.
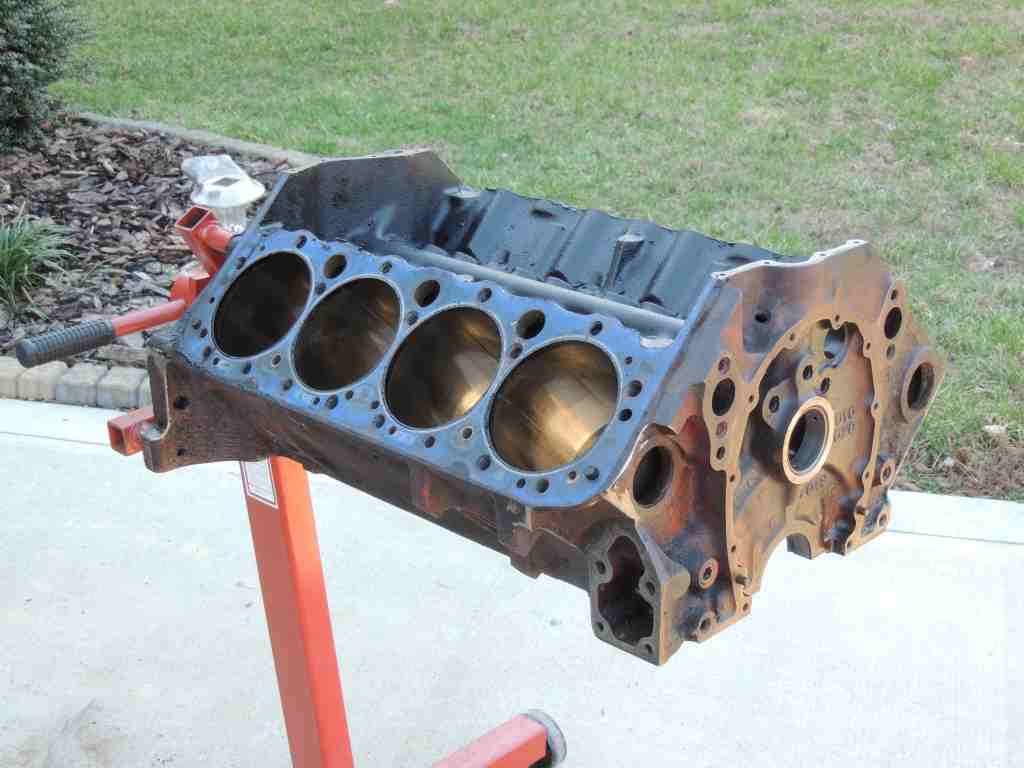
Pictured below is the engine as it first came out of the car.

Over the years, I've picked up a little knowledge of how auto engines work but I've never actually rebuilt an engine. To guide me on this brave new journey, I will be making use of two manuals (plus the advice of my brother Ed and many other friends). The first book was loaned to me by Ed and is titled How to rebuild your Small-Block Chevy by David Vizard and published by HPBooks. I believe this book is now out of print. The second book is titled How to Rebuild the Small-Block Chevrolet by Larry Atherton and Larry Schreib, and published by CarTech. I purchased this second book from Corvette Central, which is the main company that I've dealt with over the years for Corvette replacement parts.
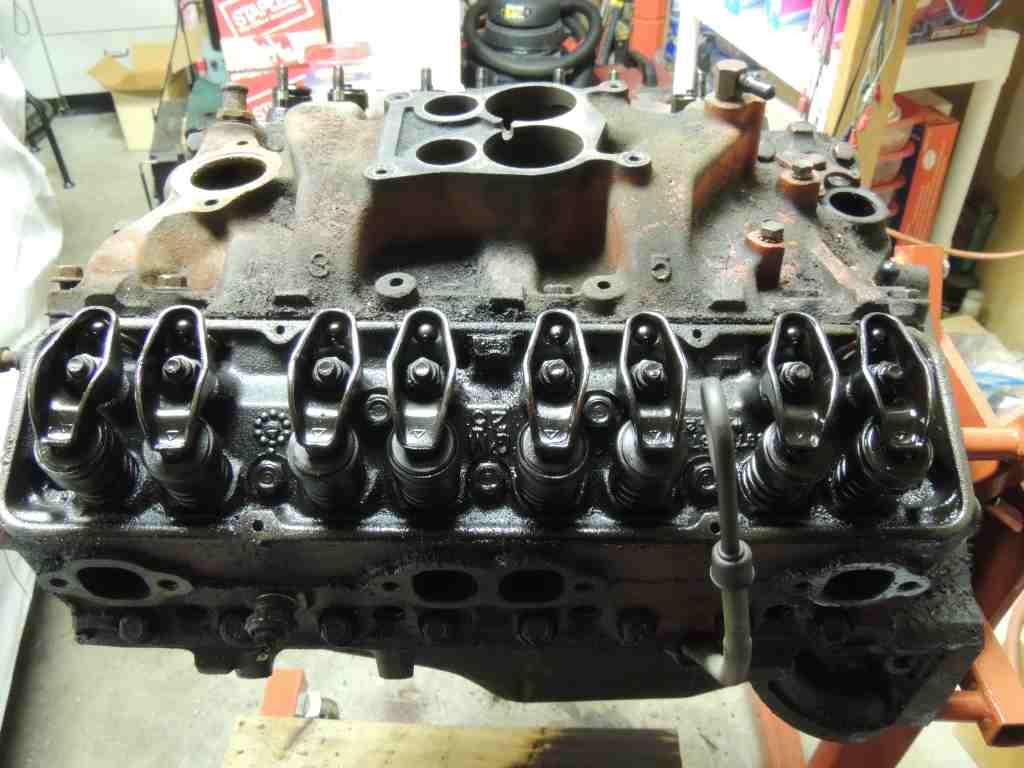
The first order of business in the engine tear down process was to remove all the externally mounted items. The picture below shows the engine with the carburetor, distributer, exhaust manifold, and other various parts removed. I also removed the rocker arm covers because I wanted to get the head casting numbers.
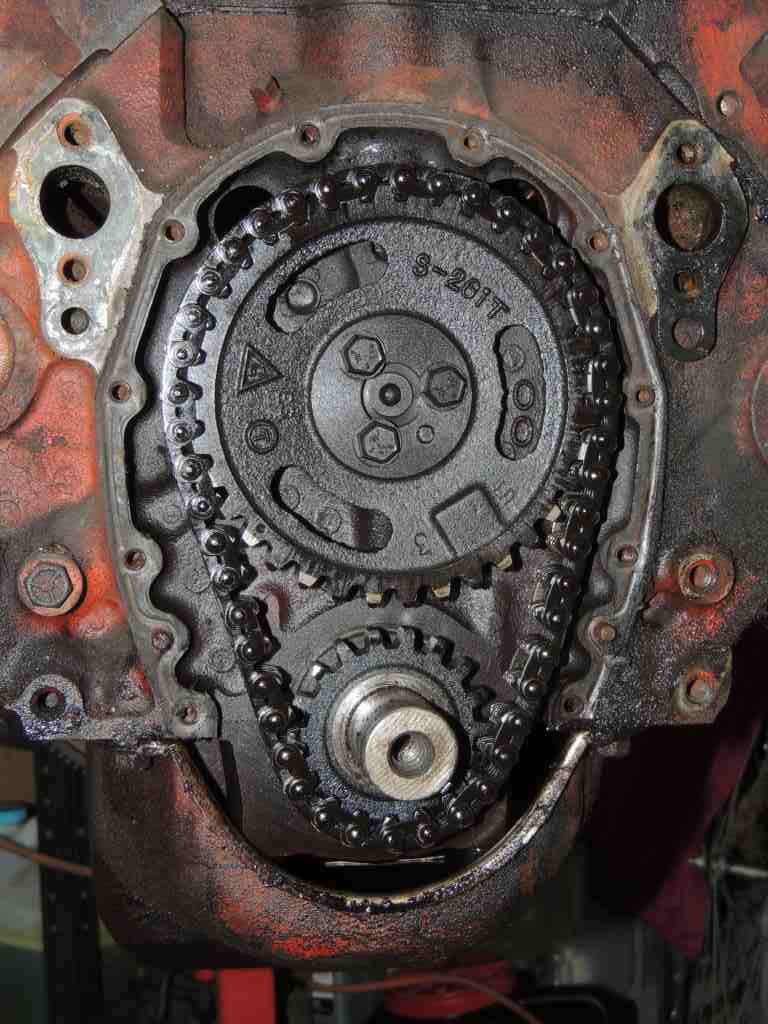
This next picture shows the front of the engine with the belt pulley, harmonic balancer, water pump, and the timing chain cover removed. The upper sprocket is attached to the cam shaft and the lower sprocket is attached to the crank shaft.
Now the timing chain along with the upper and lower chain sprockets have been removed.

This is a view of the top of the engine with the intake manifold removed. Also removed are the rocker arms and pushrods. It's difficult to see unless you know what to look for but the valve tappets are still in place in the center of the block.

Now the engine has been turned upside down and the oil pan and oil filter have been removed.

It may not be readily apparent in this picture but the oil pump, oil filter adapter, and all the pistons with connecting rods have been removed.
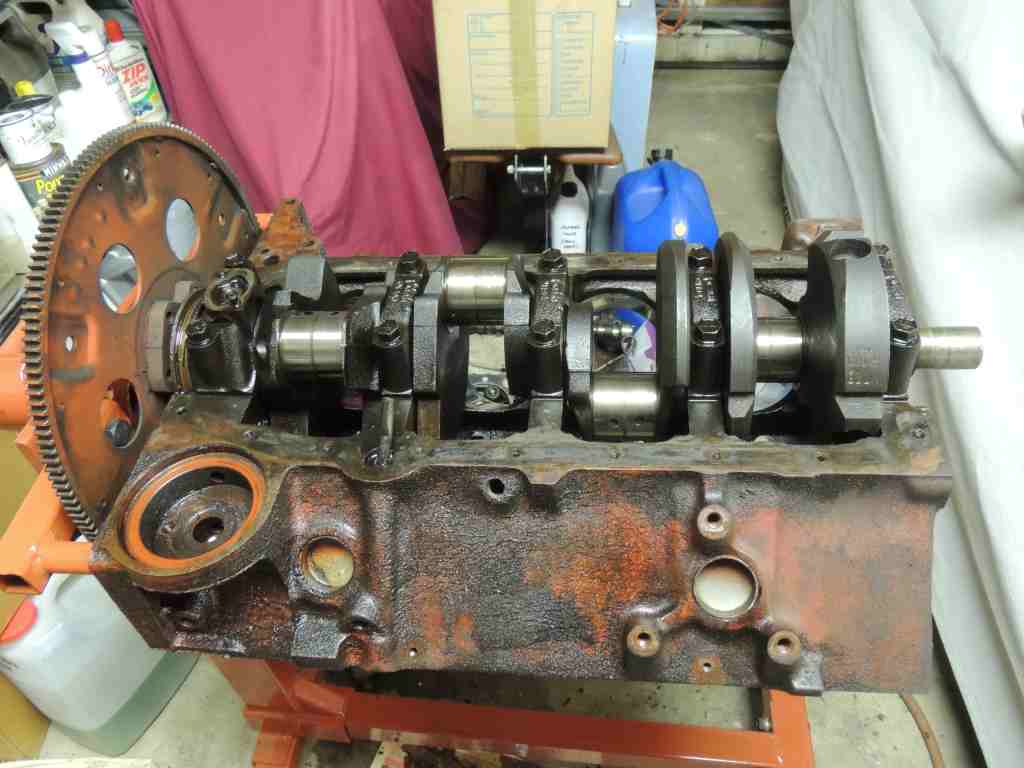
All the main bearing caps have been removed and finally the crankshaft was removed from the engine block.
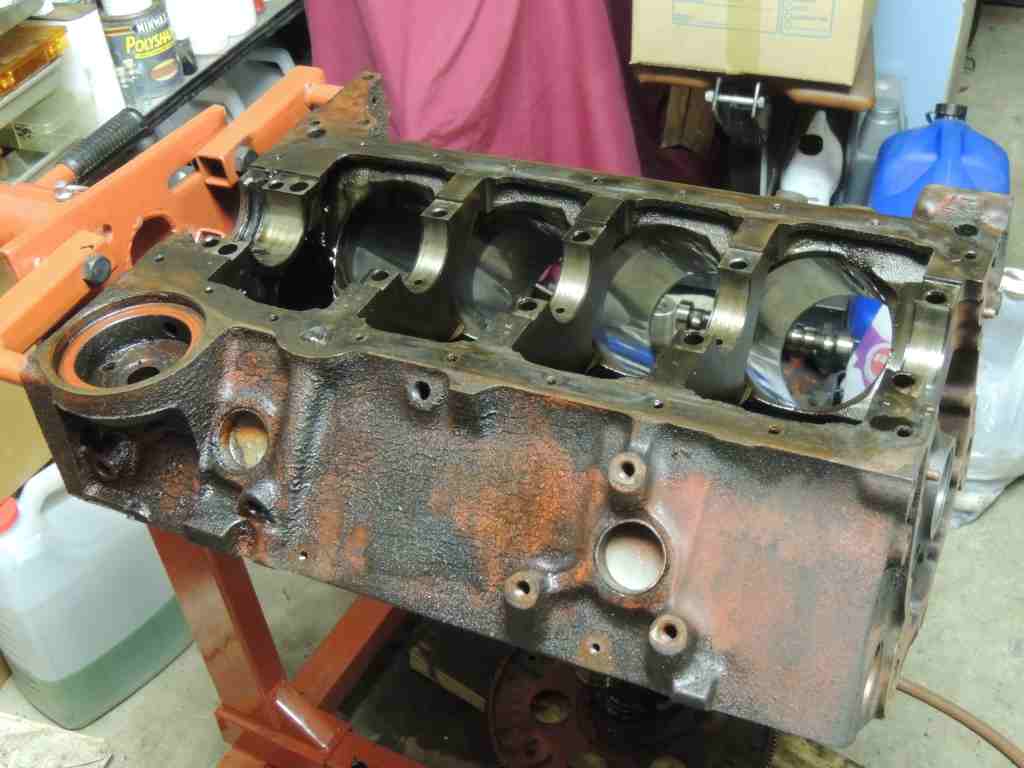
This picture shows the stripped down engine block, ready to be taken to the machine shop.